Saving on bandwidth helps you if you are still on shared web hosting and finding tips on how to save on bandwidth will allow you to stay with shared web hosting for a little while longer. At some point, you will have to move from shared web hosting to something bigger or maybe a better web host overall. WPOutcast has compiled a list of the Best WordPress Hosting For Bloggers. Do take a look at that page. Let’s talk about how I am slowly making this blog into a speed machine.
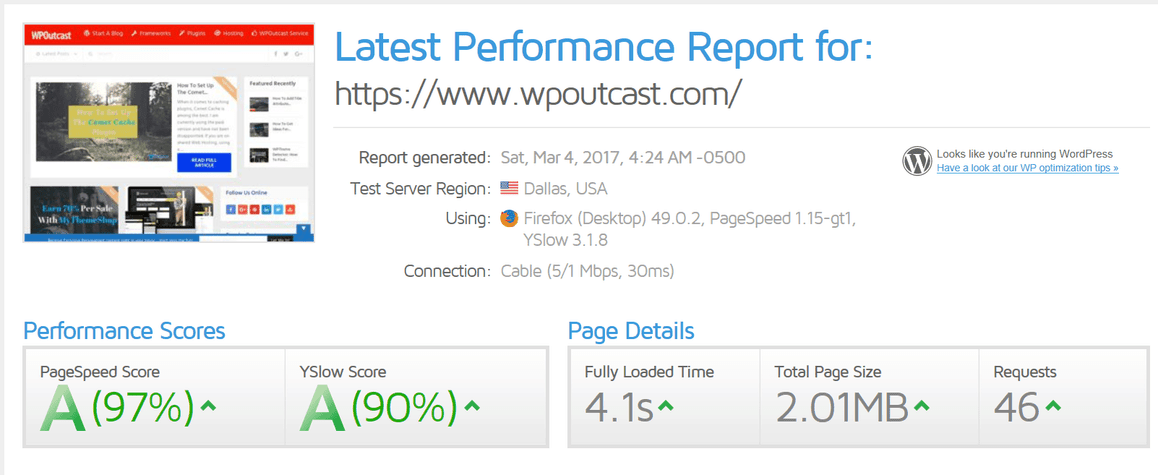
With lot’s of tweaking, I got a near perfect score with other tweaks made.

Before you install the Autoptimize plugin, make sure you follow this guide on how to Set Up The a3 Lazy Load Plugin. Once you have this set up, check out your GTMETRIX.COM score. Now install the Autoptimize plugin and follow the instructions below. We will do another GTMETRIX.COM report after all of this and you should see a little improvement or a huge one. WPOutcast is on a VPS so my score may always be higher as I can control certain server stuff.
Search the Plugin Database

In your Admin dashboard, click on plugins —> Add new and type in Autoptimize into the search box. Once you find the plugin, install it so we can see what Settings WPOutcast is currently using. If you have a cache plugin installed, when you finish setting up the plugin, remember to flush your cache.
Autoptimize Settings
To edit the settings, go to your “settings” tab and select Autoptimize. Now here is the tricky part, I’ve enabled certain settings because I am already using Cloudflare and enabled certain settings on my cloudflare account. This tutorial is about what I have selected after testing some things out myself on this blog. These settings to break my blog. I’d suggest you open up this FAQ Page page for the plugin in which has some details on certain settings that we will enable.

Make sure you tick off the “advanced settings” tab to unlock more features. Let’s continue on setting up this plugin. Let’s get to the Java settings page.

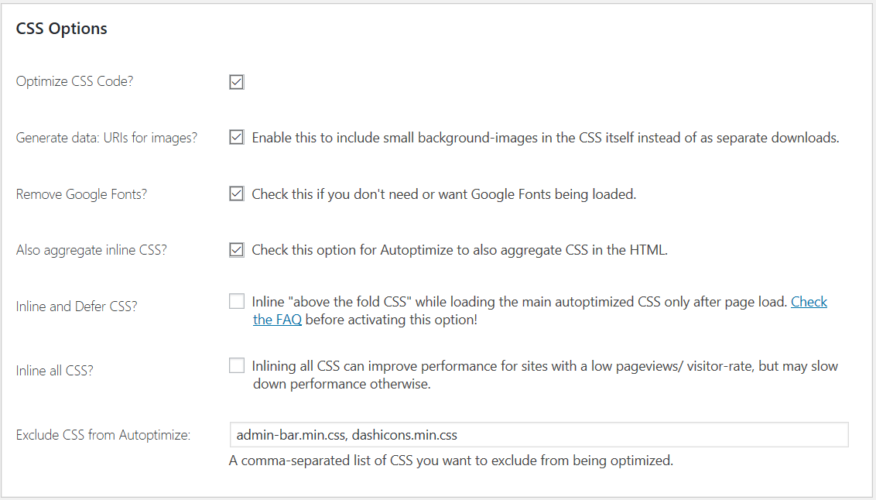
CSS Settings:

Before you edit any settings, take my advice earlier in this post, read there FAQ so you set up this plugin that best suites your blog and type of host you are using.
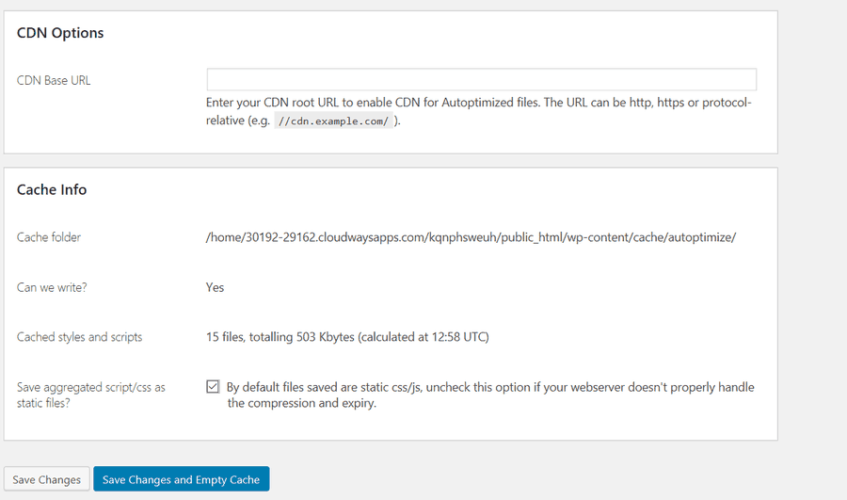
CDN Settings
If you are using a CDN as in MaxCDN for example, this next section is for you to edit. If this does not apply, just save settings and you are done.

What To Read Next:
- Help fight spam with the Akismet Plugin plugin
- Recommended database cleaner: The Smart Cleanup Tools Plugin
Hit the save and empty cache button to complete the plugin set up process. That’s it, you have completed the easy set up of the Autoptimize plugin to help on some bandwidth and increase your blogs speed a little at the same time. Every bit helps when you are using shared web hosting. BlueHost is one of the web hosts that I recommend to brand new bloggers. It’s cheap and good web hosting for starters. When a blog starts to grow, there is a special hosting package for managed WordPress hosting which is high traffic blogs and affordable.
Gravatar Cache
Make a little difference with cache gravatars. Helps a bit but if you have a lot of comments then this plugin surely is needed. Download NIX Gravatar Cache for free.
HeartBeat Control Plugin

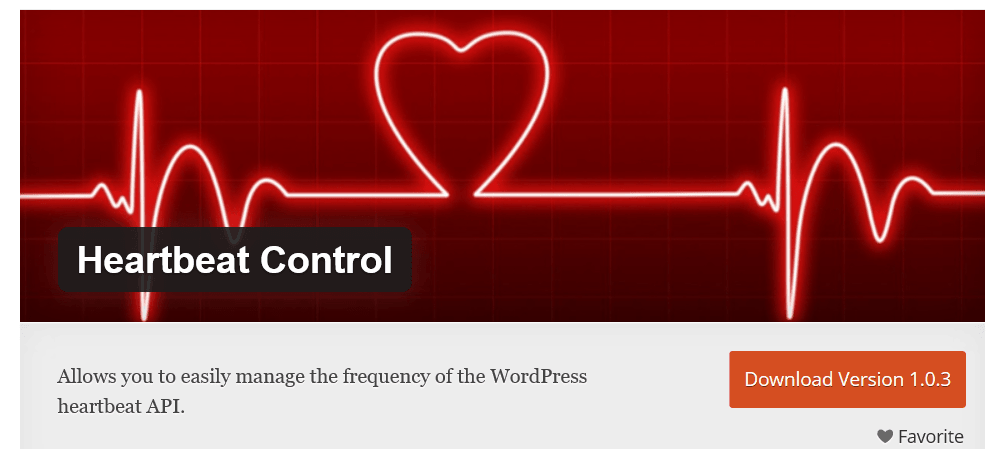
The Heartbeat Control plugin is a plugin that helps speed up the admin dashboard a bit. Ever notice how slow it is at times? This plugin helps a little. The default setting of 60 is what to choose when editing the settings.
Heartbeat intervals can be modified between 15 and 60 seconds between requests, saving on server resources. ~HeartBeat Control
If this blog post was helpful in any way, please consider sharing it online with your followers.

wow
the very good tutorial lesson here in this article.keep it up for the light of knowledge for people
hi
nice article