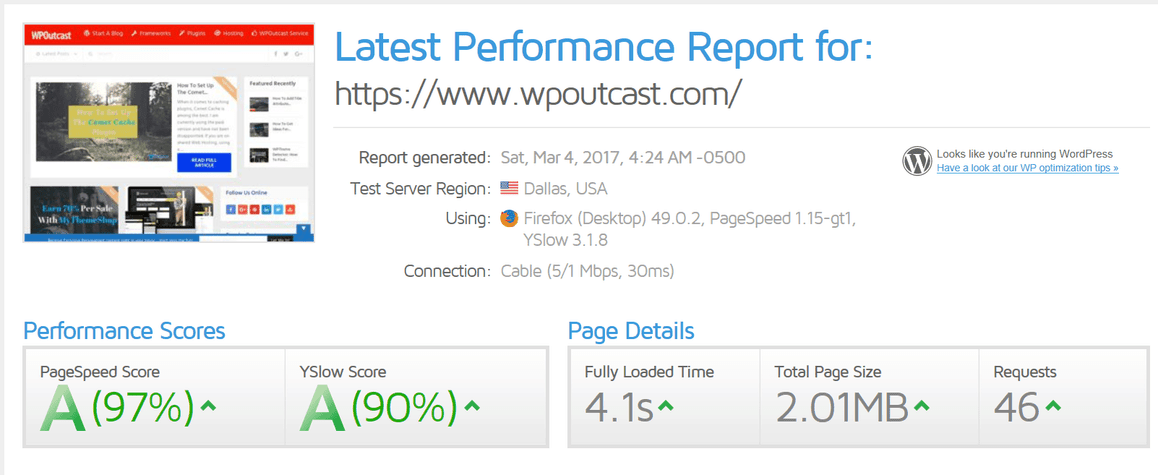
When it comes to caching plugins, Comet Cache is among the best. I am currently using the paid version and have not been disappointed. If you are on shared Web Hosting, using a caching plugin is crucial and it will help you gain speed as well as keep you on your current hosting plan longer. If your blog is taking up too many server resources on a shared hosting plan, the web host will suspend your account or recommend you upgrade. Prolong that by using a caching plugin and gain some speed in the process.

(disclaimer, you will not get the same results but follow the advice to come close)
Pro Tip:
Optimizing your images helps with performance. We are using a premium plugin to do this.
The following blog post will show you the settings of this plugin. I will share additional tips we at WPOutcast have enabled on this blog. Let’s get started. There are way too many pro features to list in this blog post so let’s show off the settings to give you an inside peak of what to expect with
There are way too many pro features to list in this blog post so let’s show off the settings to give you an inside peak of what to expect with Comet Cache.
New To WordPress? Check out the blog post below for how to install plugins.
Comet Cache Settings
Let’s start with enabling the plugin. Most of the settings by default are good but I made changes for best performance for this blog.

The credentials. Since this is the pro version, you have to add your official account information in this box below.

I never enable the automatic background updates because when any plugin has an update, I want to first read the changelog to see if any changes may affect something I have done on the blog. It is important to install a Backup Plugin to make backups before updating any plugin.
If for some reason you decide to delete this plugin and then reinstall Comet Cache, all your settings will be in tact.

This starts some of the good settings of this premium plugin.

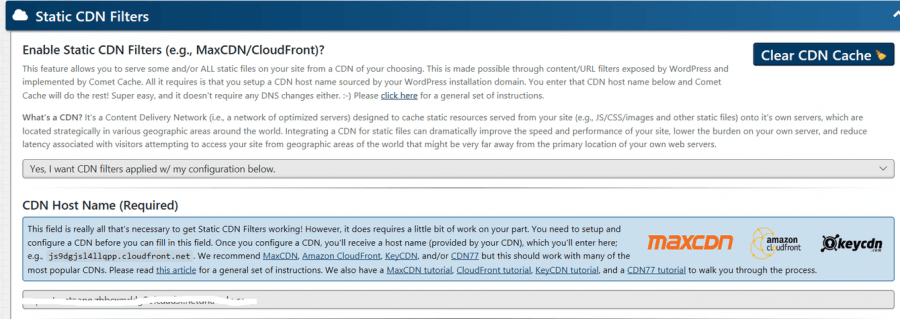
Only enable the next option if you have a CDN set up already. Otherwise, this setting changes nothing.

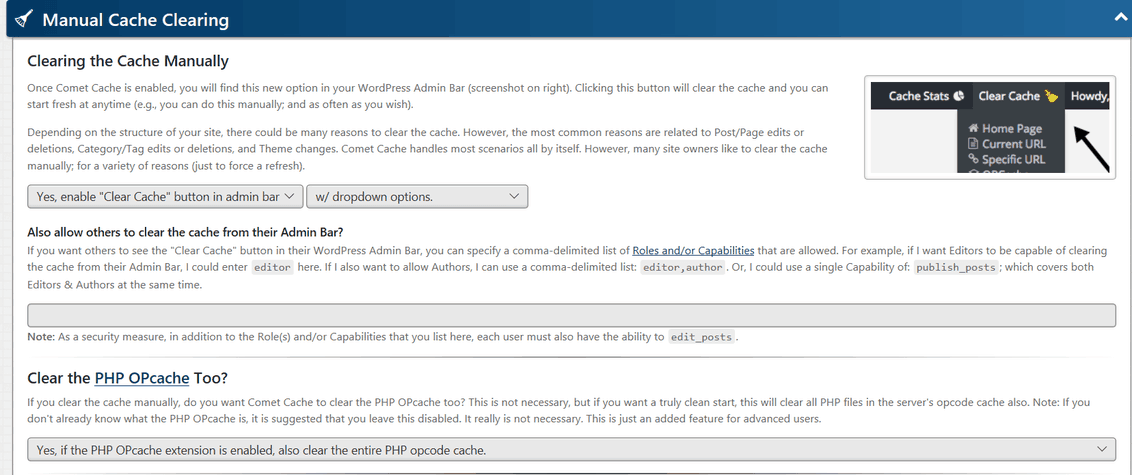
This next section is the automatic cash clearing section. I’ve only enabled 3 of them.

The last thing to enable is the sitemap cache feature.

Set the Cache expire time:

The auto cache engine get’s better over time. It has a mind of its own. I love this feature.

Enable the html compression feature for even more performance.

This section is for the CDN settings.

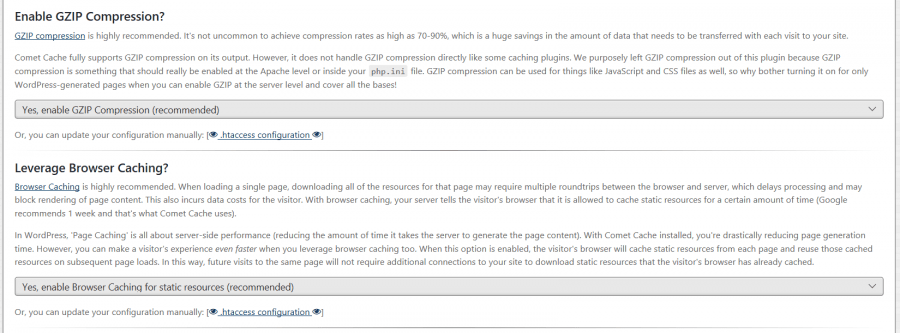
More very important settings come in this next section.


There are a couple more settings with this plugin but I disabled them as other plugins I use do the same thing and have been in place way before I installed the Comet Cache plugin. One other plugin that I recommend is lazy load images which will increase the loading of blog post and pages. Images are a huge factor in a blog’s performance.
That is why you should optimize images and use a caching plugin for best performance. Please leave your comments below. Get in touch with me if you want me to configure this plugin for you.
If this blog post has been helpful, do consider sharing it online with your followers.

Great work on this article Derek. Thank you for sharing as it’s wise for any website to utilize tools that help keep the visitors experience served smoothly as possible. Looking forward to the next project as your work was swift and exactly what we needed.
Your welcome. Glad you liked it. :)
Hi, Derek!
Thanks for posting this article. It is such a nice and very informative article. You are doing such a nice job.