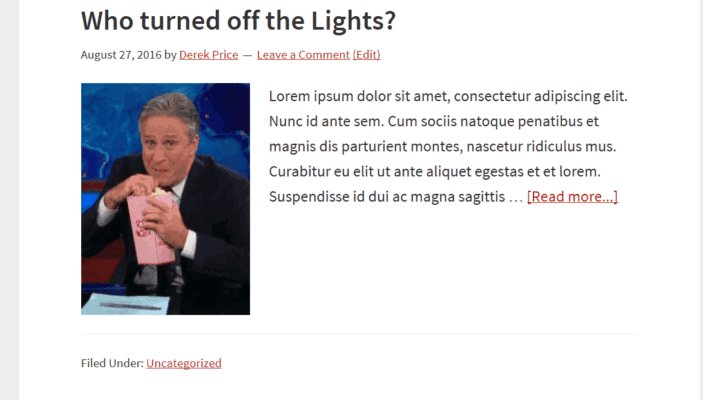
Are you using an official StudioPress theme created by their staff and not a 3rd party theme? If so, then this is the tutorial for you. When I bought my first theme and set up the blog, I disliked the “filed under” category title shown and couldn’t figure out how to change it until recently.

Before adding code to your theme, it is recommended that you create a full backup of your blog.
Changing The Filed Under
Navigate to your “appearance —> editor page” and make sure you are editing your child theme. Open up the functions.php and add the following code at the very bottom.
add_filter( 'genesis_post_meta', 'ig_entry_meta_footer' );
function ig_entry_meta_footer( $post_meta ) {
$post_meta = 'Category Bumble Bee Tuna: Genesis Tutorials ';
return $post_meta;
}Note: Edit the words in-between the ” ” characters then hit save. The same goes for the tags: context.
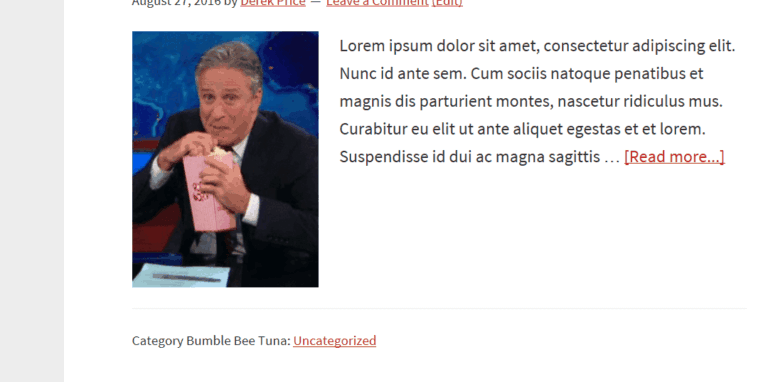
Here is the live result after adding the name I wanted in place of “filed under”.

Category Description Showing

When you create categories, are you filling in all the sections on the category page, including the boxes? If you are allowing categories to be indexed into Google with a SEO plugin, it is wise to write a description that will appear in the search engines and on your blog. This will help identify what your post is about, allowing Google to share it when people search for a related topic.
Let’s start with showcasing your categories description on the blog itself when you click on a category name (not done on WPOutcast) and you will see the description like done so below. This is great for letting your visitors known what the category is all about.

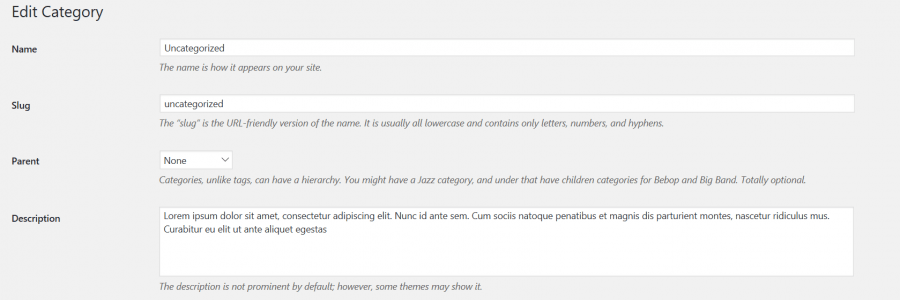
Go to your categories page and click “edit” on any category if you already created them. You should end up on this page below.

Let me explain everything shown in the above screenshot so you understand all of it.
- Name – This is obviously the name of your category that is shown to the pubic so make it simple and clear. Look at WPOutcast’s for an example.
- Slug – The slug is the URL that is made automatically once you hit publish. I actually never edit this and let it happen automatically. I use Yoast SEO plugin which removes the stop words from the URL for best SEO practices.
- Parent – leave this at none as I have never used this in my many years blogging.
- Description – Describe the category below. This will appear when you hover your mouse over a category name on your blog like on WPOutcast. This may be different depending on the official StudioPress theme being used. Don’t write a novel. You only need two to three short sentences that get straight to the point.
Category Archive

The description that you copied and pasted from the above section is what will appear on your category page like shown in the image below. Note that this description can be longer and more detailed, but the descriptions that will be used in the search results need to be very short as there is a character limit Google enforces.

Last section
This last section is what is used for the search results. If you have the default Genesis SEO being used, the page will look like the one shown below. It will be different if you have an actual SEO plugin installed.

I would no index the category archive to help prevent duplicate content. (suggestion)
If you are using the Yoast SEO plugin, there isn’t any significant changes that need to be talked about.
You have reached the end of this tutorial on simple customizations for your category. Most of these changes won’t be noticed by your audience but you know that these tiny tweaks give your blog a better overall appearance.
Tip for developers:
- Create your own child theme with the Child Theme Development Tool.
If this blog post was helpful in any way, consider sharing it online with your followers.

Leave a Reply